As you might know, we are an AR Studio.
However what it means to be an AR Studio is a bit tough to communicate. We created this fun company presentation to tackle three challenges:
- Who and what is flyAR Augmented Reality Studio?
- What is AR and what can it do? Or to be more specific, what is possible with image-tracked webAR.
- Our office is cool but we can’t invite anyone to visit us because of COVID. So hey, at least we can invite our office to visit you!
Here is how it works:
Tech specs:
Platform – Zappar webAR, created in ZapWorks Studio
3D created in Blender
Approximate size of AR-content ~11MB
Concept and planning – flyAR Augmented Reality Studio (that’s us!)
Want to try? You can!
Ideally, print the picture below and scan it with your smartphone camera or QR reader if your camera does not recognie QR codes. iOS camera reads QR’s straight away and quite many Androids should too. The QR will take you to a webAR site where you can activate the AR-experience by tapping launch and giving your browser appropriate permissions. Easy, quick and it works quite robustly!

The primary use case for image-tracking AR-experiences is print, as looking at one screen through another screen is a bit clumsy. It works from your screen too, but for real cases we would not recommend it. We have fun 14cm round flyers as seen on the video above, they are super cool and the round format gives it a nice twist.
How was it made?
How did we create something like this? And what tools did we use? And why did we choose those tools to use? And how much does it cost? And what is that game they are playing at night? So many good questions that need good answers. An AR-experience like this one is made up of three main elements; 3D-content, interactivity and information.
3D content creation
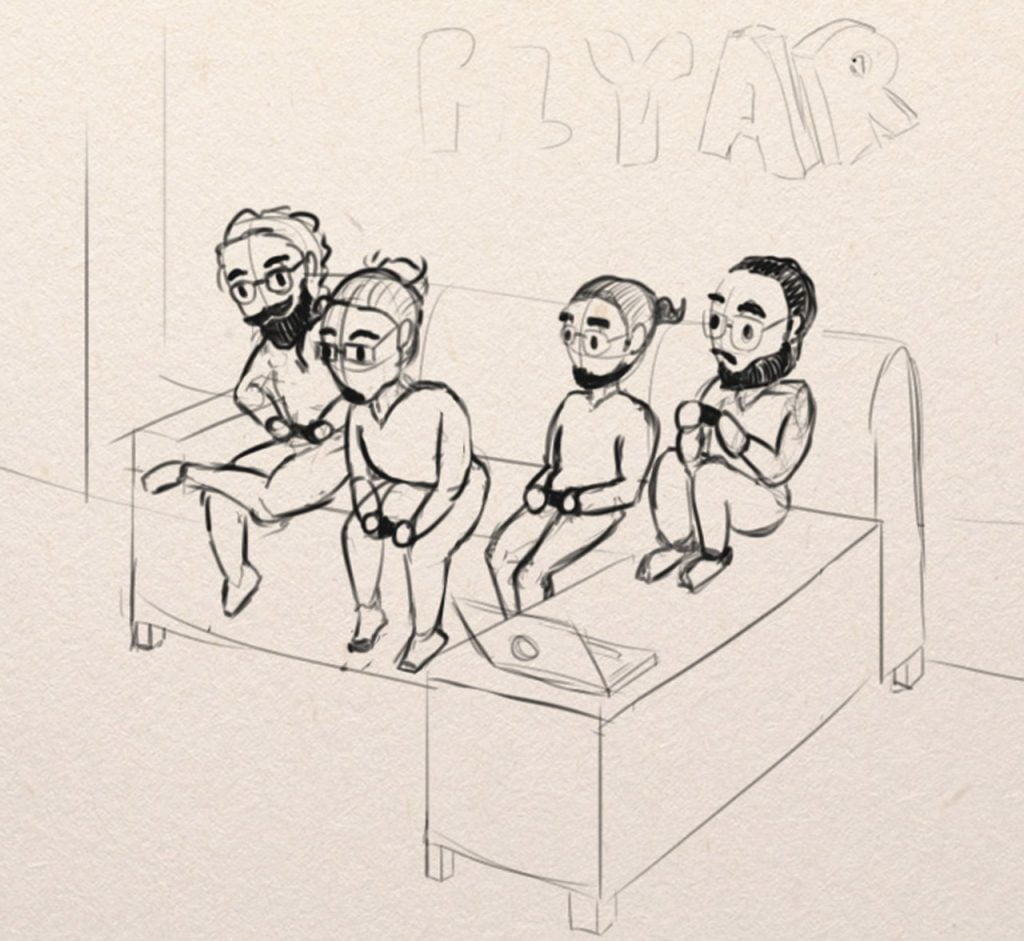
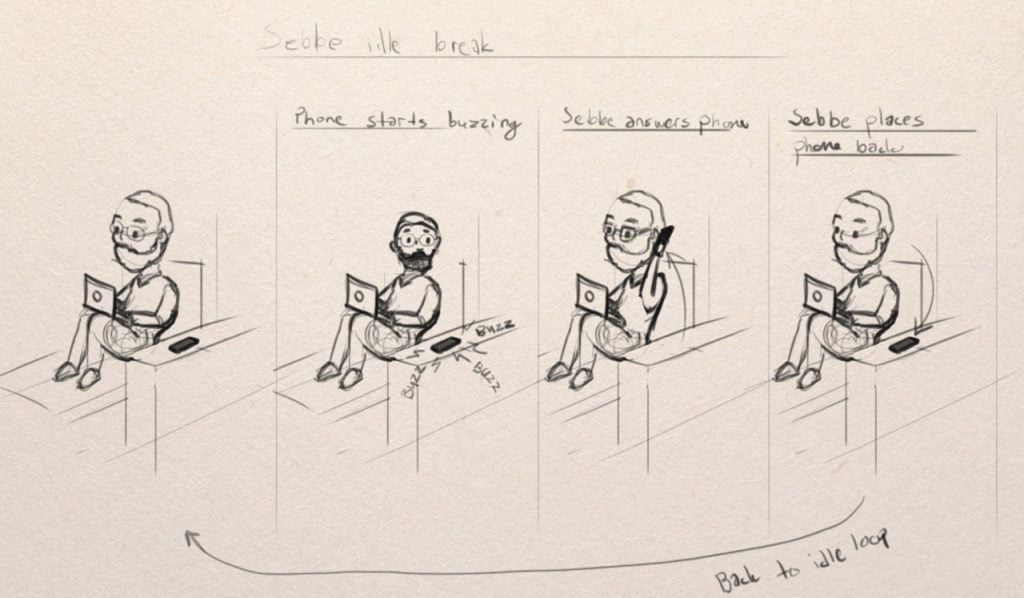
The 3D-content is the most visible and visual part of the experience so it must be created to look good. But as it needs to be delivered over mobile internet and work on mobile devices (even the not-so-new ones), the content must be created to be very lightweight. Technically this means as little polygons as possible and efficient and small texture files. Our 3D Artist Nico Saarela created our model from scratch using his weapon of choice, blender. Below are some pictures of the process.
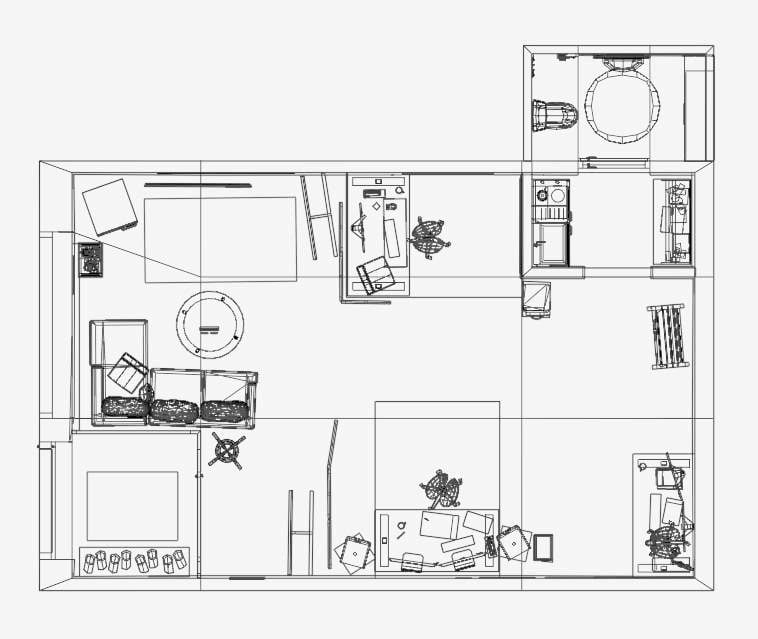

“Character design and animation was definitely one of my favourite parts of the project. I really wanted to make the small flyARling character-dudes feel more alive and distinctive from each other. And I think it made the office space feel very animated, playful and lively.”
– Nico

Interactivity
Ok, so now we have nice looking AR-optimized 3D, then what? It would be great to be able to know some more about the dudes and the office, right? Let’s add some interactivity by adding buttons for the user to tap to find out more! This AR-experience is powered by Zappar’s webAR and it was developed in ZapWorks. We have chosen ZapWorks as our tool for three main reasons; we have years of experience with it, it’s webAR works very well especially for image-tracked experiences (and even on devices from a few years ago) and it is reasonably priced for us to use. Using ZapWorks we have built a good template that includes a load of built-in functionalities for easily adding interactions such as:
- fullscreen infos – info boxes with/without image and link buttons
- info boxes with video content
- billboard infos – info that “sticks” to the main 3D content instead of filling up your entire screen
- 360-functionality – Our AR office includes a 360 render from “within” our office model (will be replaced with a real image once we all are at the office for the shoot)
- links to anywhere – we link to our site, social medias and LinkedIN-profiles but the links could guide the user to your landing page or webshop as well!
- Saving contact information – this simple button makes it easy for anyone to save contact infos right away.
- launch custom states / animations – like night mode! And a few little easter eggs 😀
Our flyAR AR Office interactions were implemented by our talented Nico and our super-duper-template has been crafted in detailed artisan style by our CTO Eero Salminen.
“I learned a lot about more advanced tools and functionalities while working on this project. They helped me bring the visual experience forward to make it more lively and interactive.
– Nico
The most challenging part of the project was all the scripting that had to be done. Also some bugs appeared that needed to be squished on the road to finish the AR Office. But it was still a very interesting challenge and I really liked creating all these solutions to these challenges. All the challenges also gave me the opportunity to develop new tools and techniques for future projects.”
Is it difficult and what does it cost?
Well it’s not rocket science, that’s for sure! Our AR-experiences are custom created and tailored to fit our clients need, challenges and budget so there is no one answer for this unfortunately. The biggest and most time-intensive part of AR-experience creation is the 3D-production part. So the level of difficulty and fatness of invoices depends heavily on the 3D-requirements.
Our AR-experiences are custom created and tailored to fit our clients need, challenges and budget.
The cost is made up of two main parts; creating the AR-experience (one-time fee) and small fee based on the amount of AR-views. Working with flyAR, you do not need an expensive yearly subscription to any software or AR-platform.
Generally, if we need to custom create 3D-models from scratch, animate them and add interactions, the project price will range from 7-30k€ depending on everything. Our AR office is very detailed and it includes several animated elements and lot’s of interactions so it’s production price would be around 20k€. Using ready models or photogrammetric capture the 3D costs will be significantly less.
For example if you have AR-ready 3D-assets that would be used as static models with only minimal interactions (like this AR-postcards project), the price range would probably be between 4k-10k€.
Things that affect pricing are:
- 3D type – custom creation from scratch / photogrammetry / using ready models
- Amount of detail in custom created 3D content
- Amount of animations in 3D
- Amount of interactions in the AR-experience
- (discount may be applicable for NGO’s, non-profit organisations and artists! Feel free to ask about this.)
Interested in AR? Contact Frans 🙂
Frans Tihveräinen
frans (ä) flyar.fi
+358 50 530 6108
LinkedIN
Contact form
ps. And if you are wondering what game we are playing at night, it is Broforce, it kicks ass!
